Bollards, Chocks, and an Eye
All the hull-mounted hardware is installed!

This picture shows the beautiful bow eye.
The bow eye is bolted thru the Angelique wood bow stem and Shagbark Hickory inner stem so it is very strong. All the deck hardware is "bedded" in polyurethane caulk. Bedding seals the interface between the hull or deck and the piece of hardware, preventing water from getting into the wood. Bedding compound comes in at least two varieties, the very expensive and very popular 3M 5200 caulk and the very cheap and nearly as good PL S30 Polyurethane Roof and Flashing Sealant for about 1/3 the cost.
I used the cheap stuff.
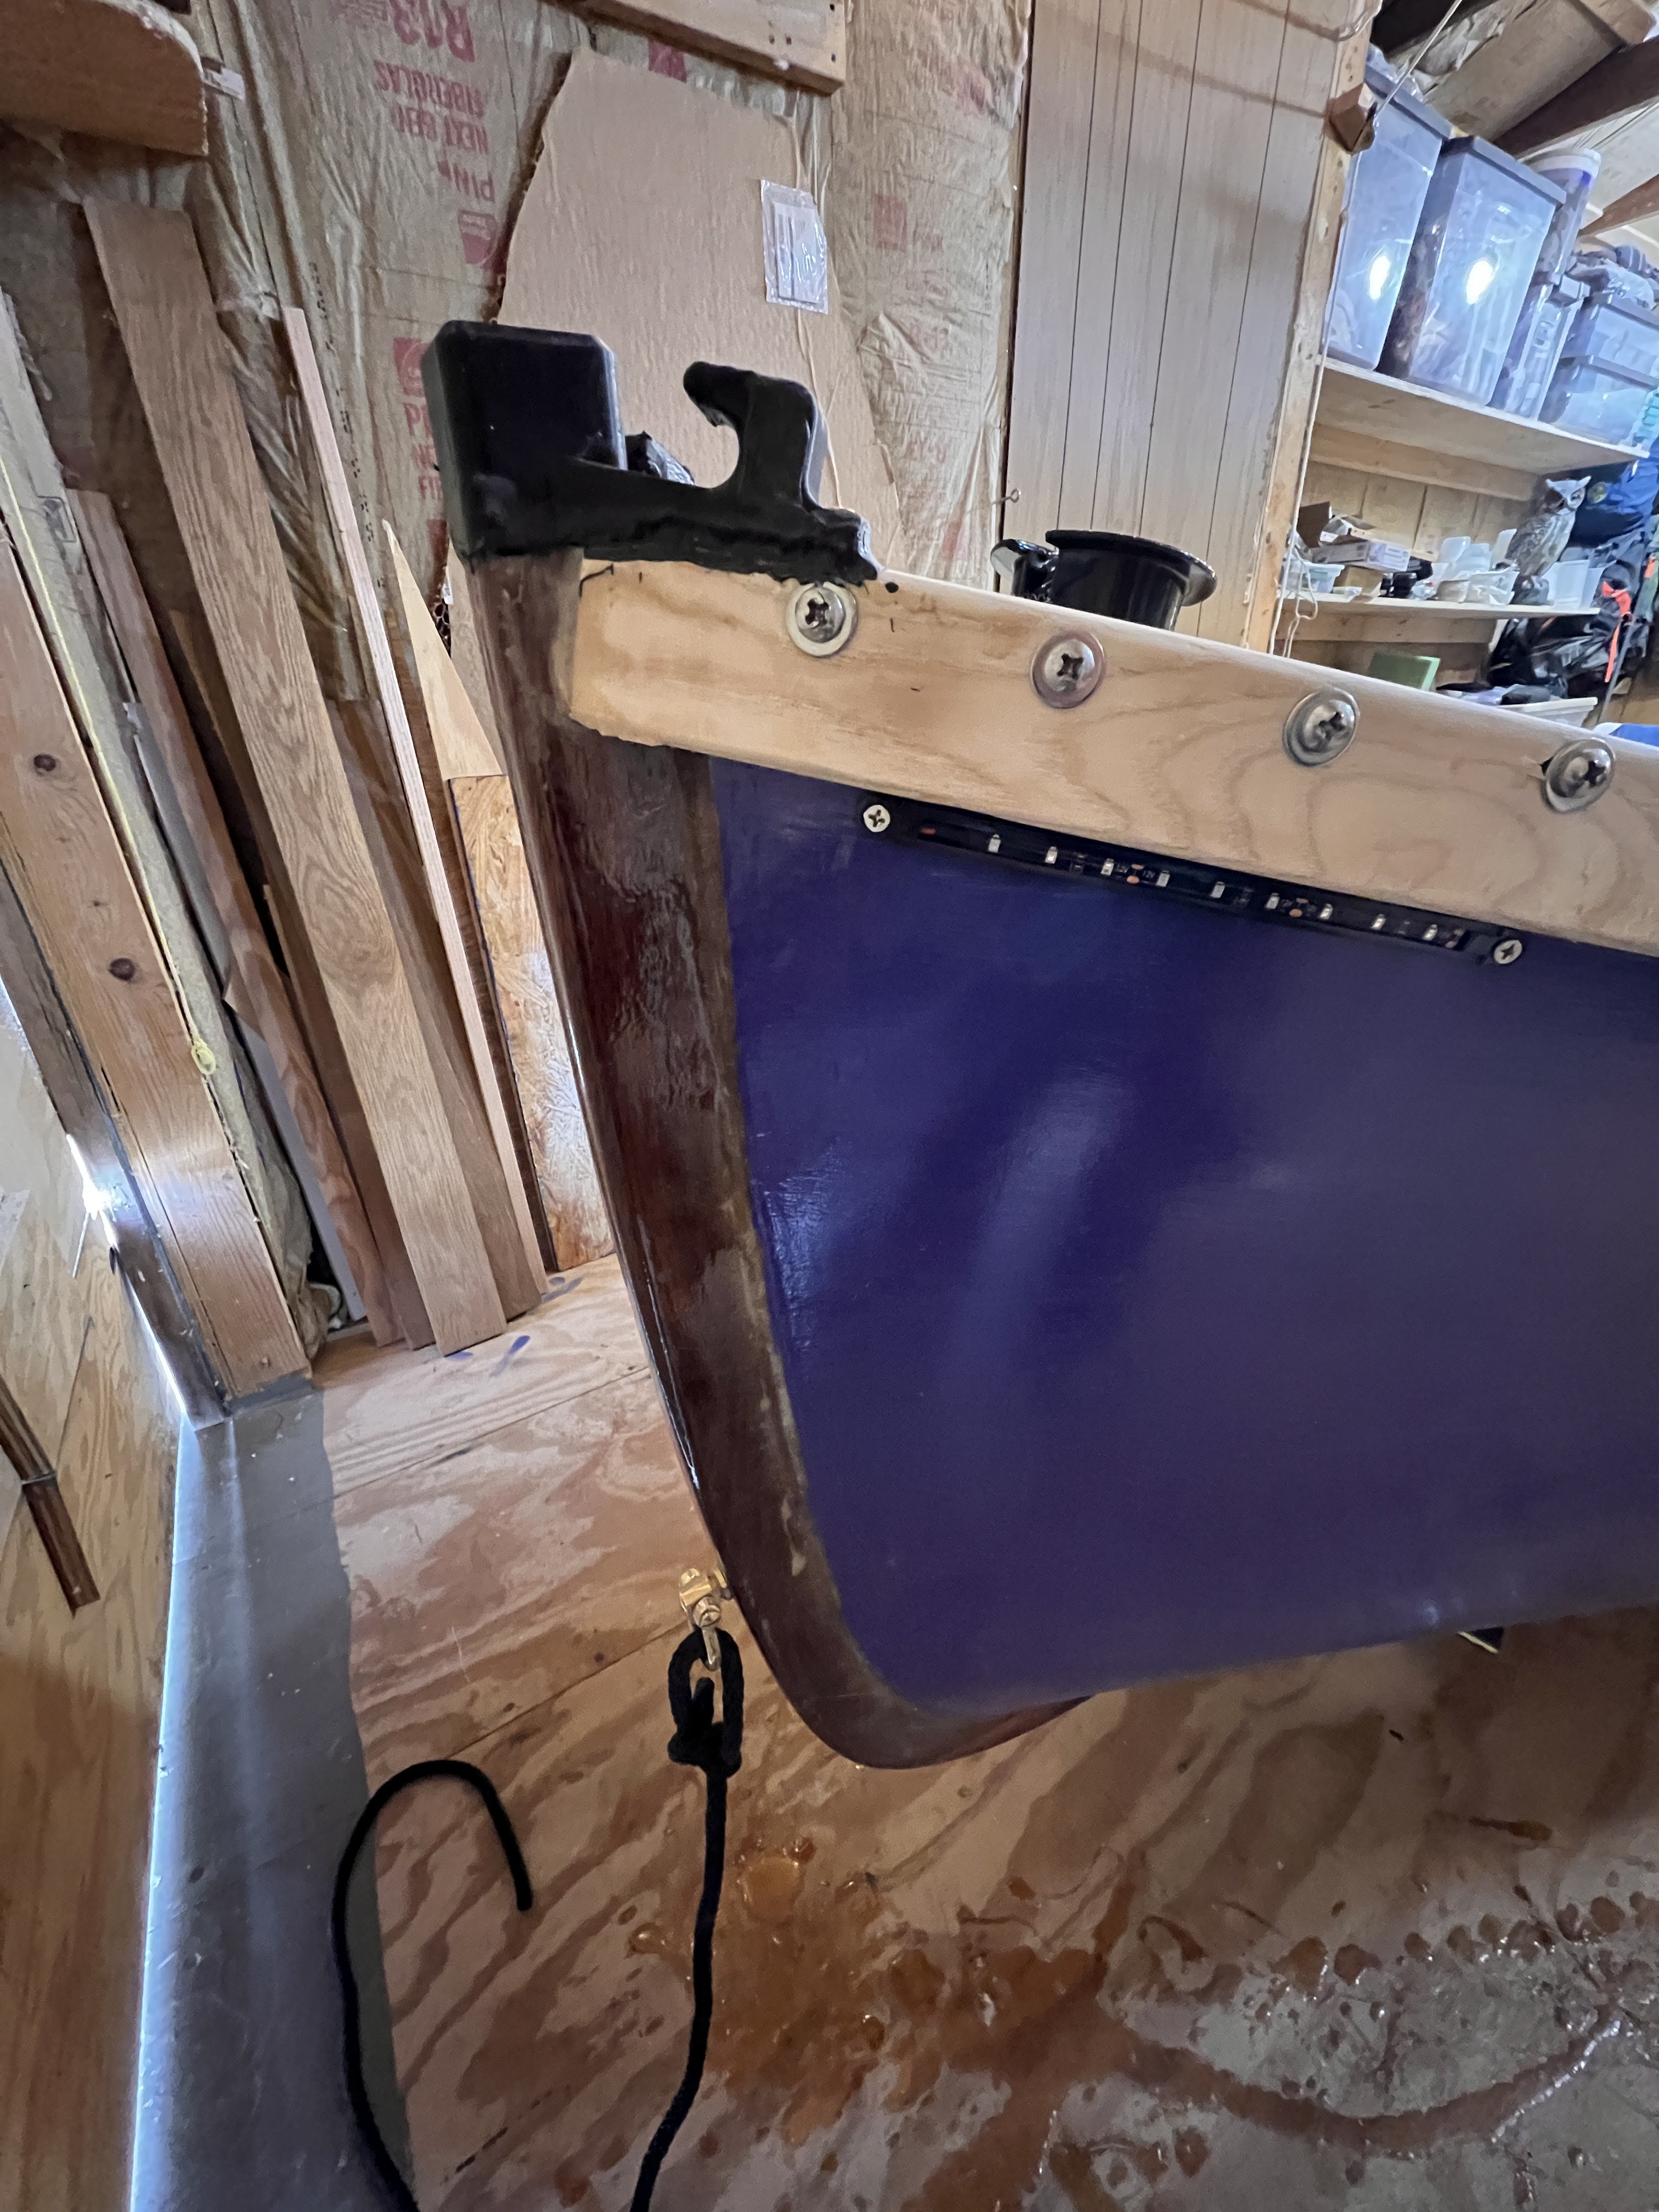
The left picture shows the 3D printed bow chock and bow stem extension (see earlier post), and the unusual Clam Cleat Bollard. The right picture shows all bow hardware.
Aft of the bow chock is a very unusual "Clam Cleat Bollard". This strange thing has a tapered clam cleat inside it which is shown holding the black line. The harder the line is pulled the more it jams in the clam cleat. The bollard can also be used as a typical bollard to hold a loop of line or a couple wraps of line around it. I decided to have this on the boat as a nod to the huge bollard on Tally-Ho, the 52' Gaff Cutter that was rebuilt by Leo Goolden, from whose videos of the 7 year project I learned a lot about wood working and boat building.
https://www.youtube.com/channel/UCg-_lYeV8hBnDSay7nmphUA/community
You can't quite see the bollard in this incredible picture. The bollard is right under the jib. On Tally-Ho the bollard is powered and is used to pull up the anchor chain and can be used to haul in heavy lines.


A closeup of one of the stern chocks, and a view of the stern with the stern light lit. I added a protective cover over the stern light to help prevent it getting damaged by lines or hands.
There will be a deck that covers the steering system and wires, and the deck will have some sort of cleats to hold the lines coming thru those chocks. The deck is the penultimate part that needs to be designed and built, followed by the canopy.
A couple pictures of the Charcuterie Table with night light and boarding assist handles.
The large wing nuts hold the table to the central post. There is also a line that holds the aft end of the table to the Helm station. Remove those, unplug the horn (which is under the table and is extremely loud!) and the table lifts off.
The table is the Main Attraction of the boat. It is made from a 150 year old American Chestnut plank from the floor of an old farm house in Connecticut. This Chestnut is unusual by today's standards because it is not what is commonly known as "wormy Chestnut". This board has no worm holes.
It came from a tree that grew before the blight that killed nearly all American Chestnut trees by 1950. The original plank was about 15" wide. I sanded it mostly smooth on top but left some saw marks. The bottom shows the original rough cut surface and will be left unfinished.
The whole boat, minus the deck and canopy.
Next steps:
Install the floor. Not yet sure how that's going to be done.
Design, build, and install the deck.
Varnish everything with a minimum of 4 coats of varnish (most wooden boats I have seen have 9 or more coats!).
Then hopefully design and build the canopy.


Comments
Post a Comment