I'm back at it!
Several "blockers" have been removed: My boat shop is not heated so I can't glue when it's below 45 degrees, I have actual work-work to do which is great because I get paid. 😀 But now it is glorious outside, work has slowed a bit, so voila!

I had used cheapo epoxy for this joint and it separated! So I had to sand down the scarf joint and re-glue it, this time with good ole' wood glue. It seems to be holding, but now I'm concerned the scarf joint on the other side will split at a most inopportune time...


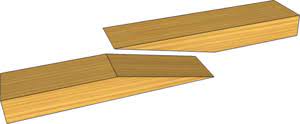
As most of you know, I'm not one to follow tradition or "that's the way it's done", and this boat build is no exception. The plans do call for strip built, but the strips are supposed to be 3/4" x 3/4" edge-glued. I am using the more current and slightly higher-tech bead and cove or cove and bead strips that are 1/4" x 3/4" with a, well, bead on one edge and a matching cove on the other. This allows the pieces to be glued together without any fasteners. And, being me, I've decided to take that to the extreme and am not using any fasteners to hold the hull pieces together.
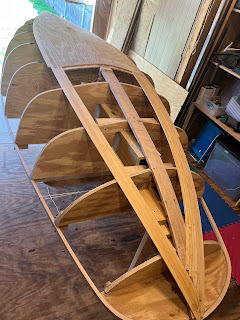
This has proved a bit of a challenge as you can see in the pictures below. My father would be frowning at me for going the route of most difficulty without any real experience. I have also started stripping with the strips that are the most difficult to attach! Probably not a good plan, but that's it.
In the previous post I showed the strongback (I have since found out it's not quite stiff enough, sad face) and molds, to which the hull is "molded". The plywood resting on top of the molds in those pics has become part of the hull. This significantly reduces the amount of stripping needed for the part of the hull that is mostly flat, but it also forced the above noted starting with the hard-to-apply strips first. They are hard to apply because they are what is called "tortured", meaning they are bent and twisted in 2 planes which requires lots of force to hold them in place while the glue dries.
I started out using packing tape to pull the strips together, but then realized I have straps (in a box that is literally right next to where I'm working!) that work even better. Faring the hull is going to be challenging in some places because the tortured wood doesn't always bend properly and the mating edges don't always get lined up smoothly, but that part of the hull will be under water and not easily seen. I'm learning and should have much better results along the sides above the waterline that will be visible.

Interesting side note: If you look carefully at the port side (the right side in this pic) you'll see a black blob of clamps. The inwale (the inner strip of Ash that goes along the inside top edge of the hull) has a scarf joint in it.

I had used cheapo epoxy for this joint and it separated! So I had to sand down the scarf joint and re-glue it, this time with good ole' wood glue. It seems to be holding, but now I'm concerned the scarf joint on the other side will split at a most inopportune time...

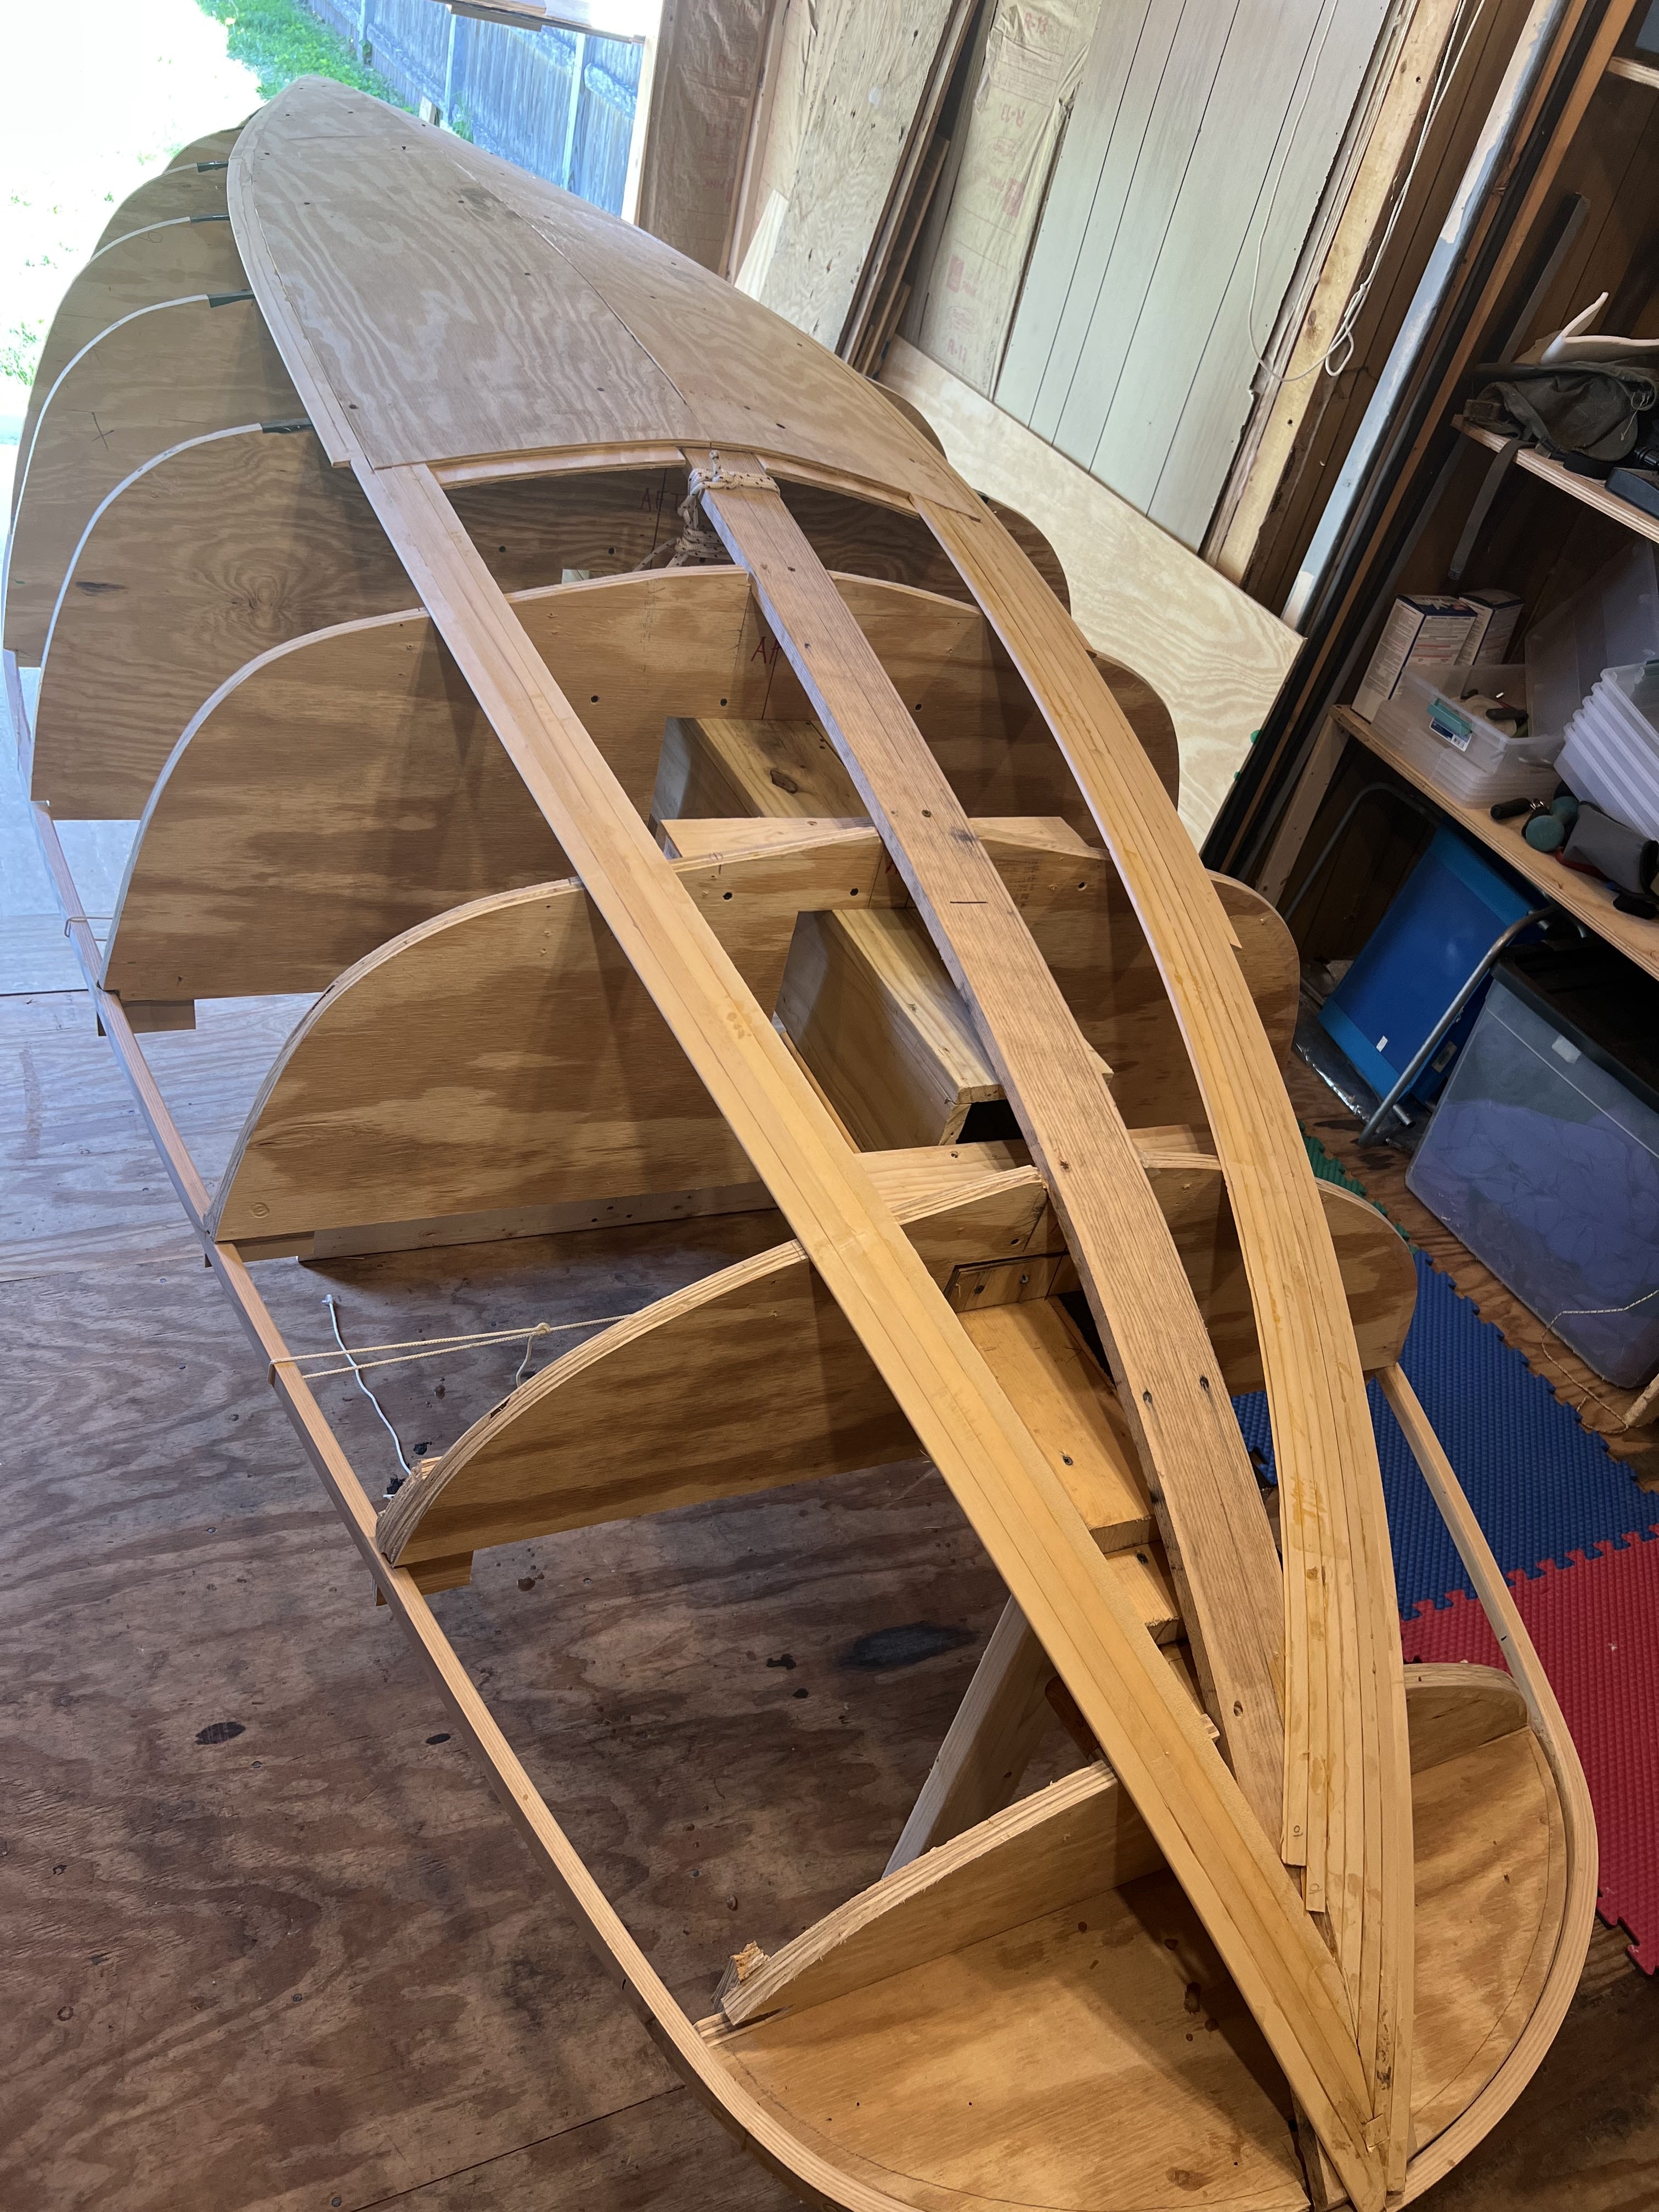
This last picture shows the new strap technique, but if you look closely you'll see there are also a few bands of packing tape. The tortured part is where the strips get pulled down onto the flat inner keelson (the wider strip of red oak right in the middle of the picture, the strips are clamped to it with C clamps) after coming around that 2 axis bend. The straps should speed things up a bit, but I still have to wait many hours before I can undo them to install more strips. If I undo them to soon, the tortured sections stress the glue line and even if nothing pops, the glue line looses some strength. I do one side of this stern section, and at the same time add more strips to the forward starboard section (top left in this pic). That's this afternoon's project.


Comments
Post a Comment